Pool Closing Checklist: How to Winterize Your Pool
Closing your pool properly for winter is the single best thing you can do for next season. A well-winterized pool opens in spring with clear water, intact equipment, and minimal chemical expense. A poorly winterized pool opens with green water, burst pipes, and a weekend of frustration.
This guide covers the full winterization process for in-ground and above-ground pools, across different climate zones and cover types. If you live where it freezes, this is not optional — frozen water in plumbing lines is the most expensive pool problem there is.
Freeze damage is the most expensive pool repair. A cracked filter tank, burst underground pipe, or split pump housing can cost $1,000–$5,000+ to replace. Proper winterization takes half a day and prevents all of it.
When to Close
Close when water temperature drops consistently below 65°F (18°C). Algae grows very slowly below this threshold, which means you can close without worrying about a bloom developing under the cover.
Do not close too early. If you close in September when water is still 75°F, algae can grow for weeks under the cover before temperatures drop enough to stop it. You will open to a green mess in spring.
Do not wait too long either. In freeze climates, you need to blow out lines and drain equipment before the first hard freeze. Watch the forecast — if overnight lows are approaching 32°F, it is time to close regardless of water temperature.
Step 1: Balance the Water Chemistry
A week before closing, test and balance your water. This gives chemistry time to stabilize before you shut down the system.
Target ranges for closing:
- pH: 7.2–7.6 (slightly lower in the range is better — pH tends to rise over winter)
- Total Alkalinity: 80–120 ppm — balance alkalinity before closing so pH stays stable under the cover
- Calcium Hardness: 200–400 ppm (important for plaster pools to prevent etching over the long winter months)
- CYA: 30–50 ppm (no need to lower for closing — but note that high CYA means you need more chlorine for the final shock)
Adjust TA first, then pH, then CH. CYA is less critical for closing since chlorine demand is minimal in cold water.
Step 2: Clean the Pool Thoroughly
Before closing, the pool should be as clean as possible. Any debris left in the pool will decompose over winter, consume chlorine, and stain surfaces.
- Skim the surface completely.
- Vacuum the entire pool floor. Vacuum to waste if there is significant debris — no point clogging your filter right before closing.
- Brush all walls, steps, corners, and the waterline. This dislodges algae spores and biofilm so the final shock can kill them.
- Clean the skimmer baskets and pump strainer basket.
- Clean the filter: Backwash sand/DE filters or clean cartridge filters. For DE filters, do a full teardown and rinse the grids. For cartridge filters, soak overnight in filter cleaner solution, rinse, and let dry before reinstalling.
Step 3: Shock the Pool
Add a final heavy dose of chlorine to create a sanitizer reserve that lasts through the early weeks of winter.
Raise FC to shock level based on your CYA level. For most pools closing with CYA of 30–50, target FC of 12–20 ppm. Use liquid chlorine — it does not add CYA and dissolves completely.
Dosing reference: Each gallon of 10% liquid chlorine raises FC by approximately 7.5 ppm per 10,000 gallons.
Run the pump for 24 hours after shocking to circulate the chlorine throughout the system. Do not close the pool the same day you shock — let the chlorine do its work.
Skip the "winter algaecide kit." Pool stores sell winterization chemical kits for $30–$60 that contain a shock packet, algaecide, stain preventer, and sometimes an "enzyme" treatment. Most of these are unnecessary if you balance, shock, and close properly. If you want algaecide insurance, use a quart of polyquat 60 algaecide to prevent winter algae — it does not stain, does not foam, and provides genuine preventive protection. Skip copper-based algaecides — they can stain plaster over the winter months.
Step 4: Lower the Water Level
The correct water level depends on your cover type:
Solid covers and tarp-style covers: Lower the water 4–6 inches below the bottom of the skimmer opening. This prevents water from entering the skimmer and plumbing during rain and snowmelt.
Mesh safety covers: Keep the water at normal operating level (mid-skimmer). Mesh covers allow water to pass through, so the level self-regulates. Lowering the water under a mesh cover is unnecessary and can put stress on the cover anchors.
Above-ground pools: Lower to 4–6 inches below the return jet.
Use the pump on waste/drain setting, a submersible pump, or a siphon. Monitor the level — do not over-drain.
Never fully drain your pool. A pool that is too low loses the weight that keeps it in the ground. In areas with high water tables, over-draining can cause a fiberglass pool to pop out of the ground and crack plaster from hydrostatic pressure.
Step 5: Blow Out the Plumbing Lines
This is the most critical step in freeze climates. Water left in underground pipes, the pump, the filter, the heater, and the salt cell will freeze and expand, cracking equipment and bursting pipes.
What you need
A shop vac (in blower mode) or a small air compressor with a plumbing adapter (Cyclone or similar). Do not use high-pressure air — 5–10 PSI is sufficient. You are pushing water out, not pressure-testing the lines.
Procedure
- Remove the pump drain plug and filter drain plug. Let water drain.
- Remove the heater drain plug (check your heater manual for location).
- If you have an SWG, remove the salt cell and drain it.
- Connect the blower/compressor to the plumbing at the pump intake.
- Blow air through the suction lines (main drain and skimmer). You will see bubbles at the pool fittings. Continue blowing until you see only air — no more water gurgling.
- Switch to the return lines. Blow air through each return until bubbles appear at the jets in the pool.
- Plug each return fitting and skimmer fitting with a winterizing plug (expansion plugs or threaded plugs with o-rings) as soon as you finish blowing that line. This prevents water from re-entering.
- Install a Gizzmo or winterizing skimmer plug in each skimmer. These are designed to absorb ice expansion if any water collects in the skimmer.
Add pool antifreeze
After blowing out the lines and plugging them, pour 1–2 gallons of pool-grade non-toxic antifreeze (propylene glycol) into each skimmer and each return line fitting before plugging. This provides a secondary layer of protection against any residual water.
Never use automotive antifreeze. Automotive antifreeze (ethylene glycol) is sweet-tasting and highly toxic to animals. Pool antifreeze (propylene glycol) is non-toxic. Always check the label before purchasing.
Step 6: Drain and Protect Equipment
Pump
Remove the drain plug(s) — most pumps have one or two. Store the plugs in the pump basket so you can find them in spring. Leave the pump lid slightly loose to allow airflow and prevent moisture from being trapped.
Filter
Remove the drain plug and the pressure gauge (or open the air relief valve). For sand filters, set the multiport valve to the "winterize" position (between two normal positions) to prevent the valve from freezing in a seated position. For DE filters, open the air relief and drain completely.
Heater
Remove drain plugs. If your heater has a heat exchanger with separate drain points, open all of them. Consult your heater manual — certain models have internal components that trap water.
Salt chlorine generator
Remove the salt cell, rinse it, inspect for scale, and store it indoors. Salt cells are expensive and fragile — do not leave them exposed to freezing temperatures.
Chemical feeder / chlorinator
Drain completely, remove any remaining tablets, and leave open to dry. Trichlor tablets left in a closed feeder over winter create extremely corrosive fumes that damage the feeder and nearby equipment.
Step 7: Install the Winter Cover
Solid covers
Solid covers (vinyl tarps with water bags or anchored solid covers) keep out all debris and sunlight. They require a cover pump to remove rain and snowmelt — a small automatic cover pump is a worthwhile investment.
Spread the cover over the pool, ensuring adequate overlap on all sides. Secure with water bags (filled 2/3 full), cover clips, or anchors depending on your cover type. Never use bricks, concrete blocks, or anything that could fall into the pool and damage the surface.
Mesh safety covers
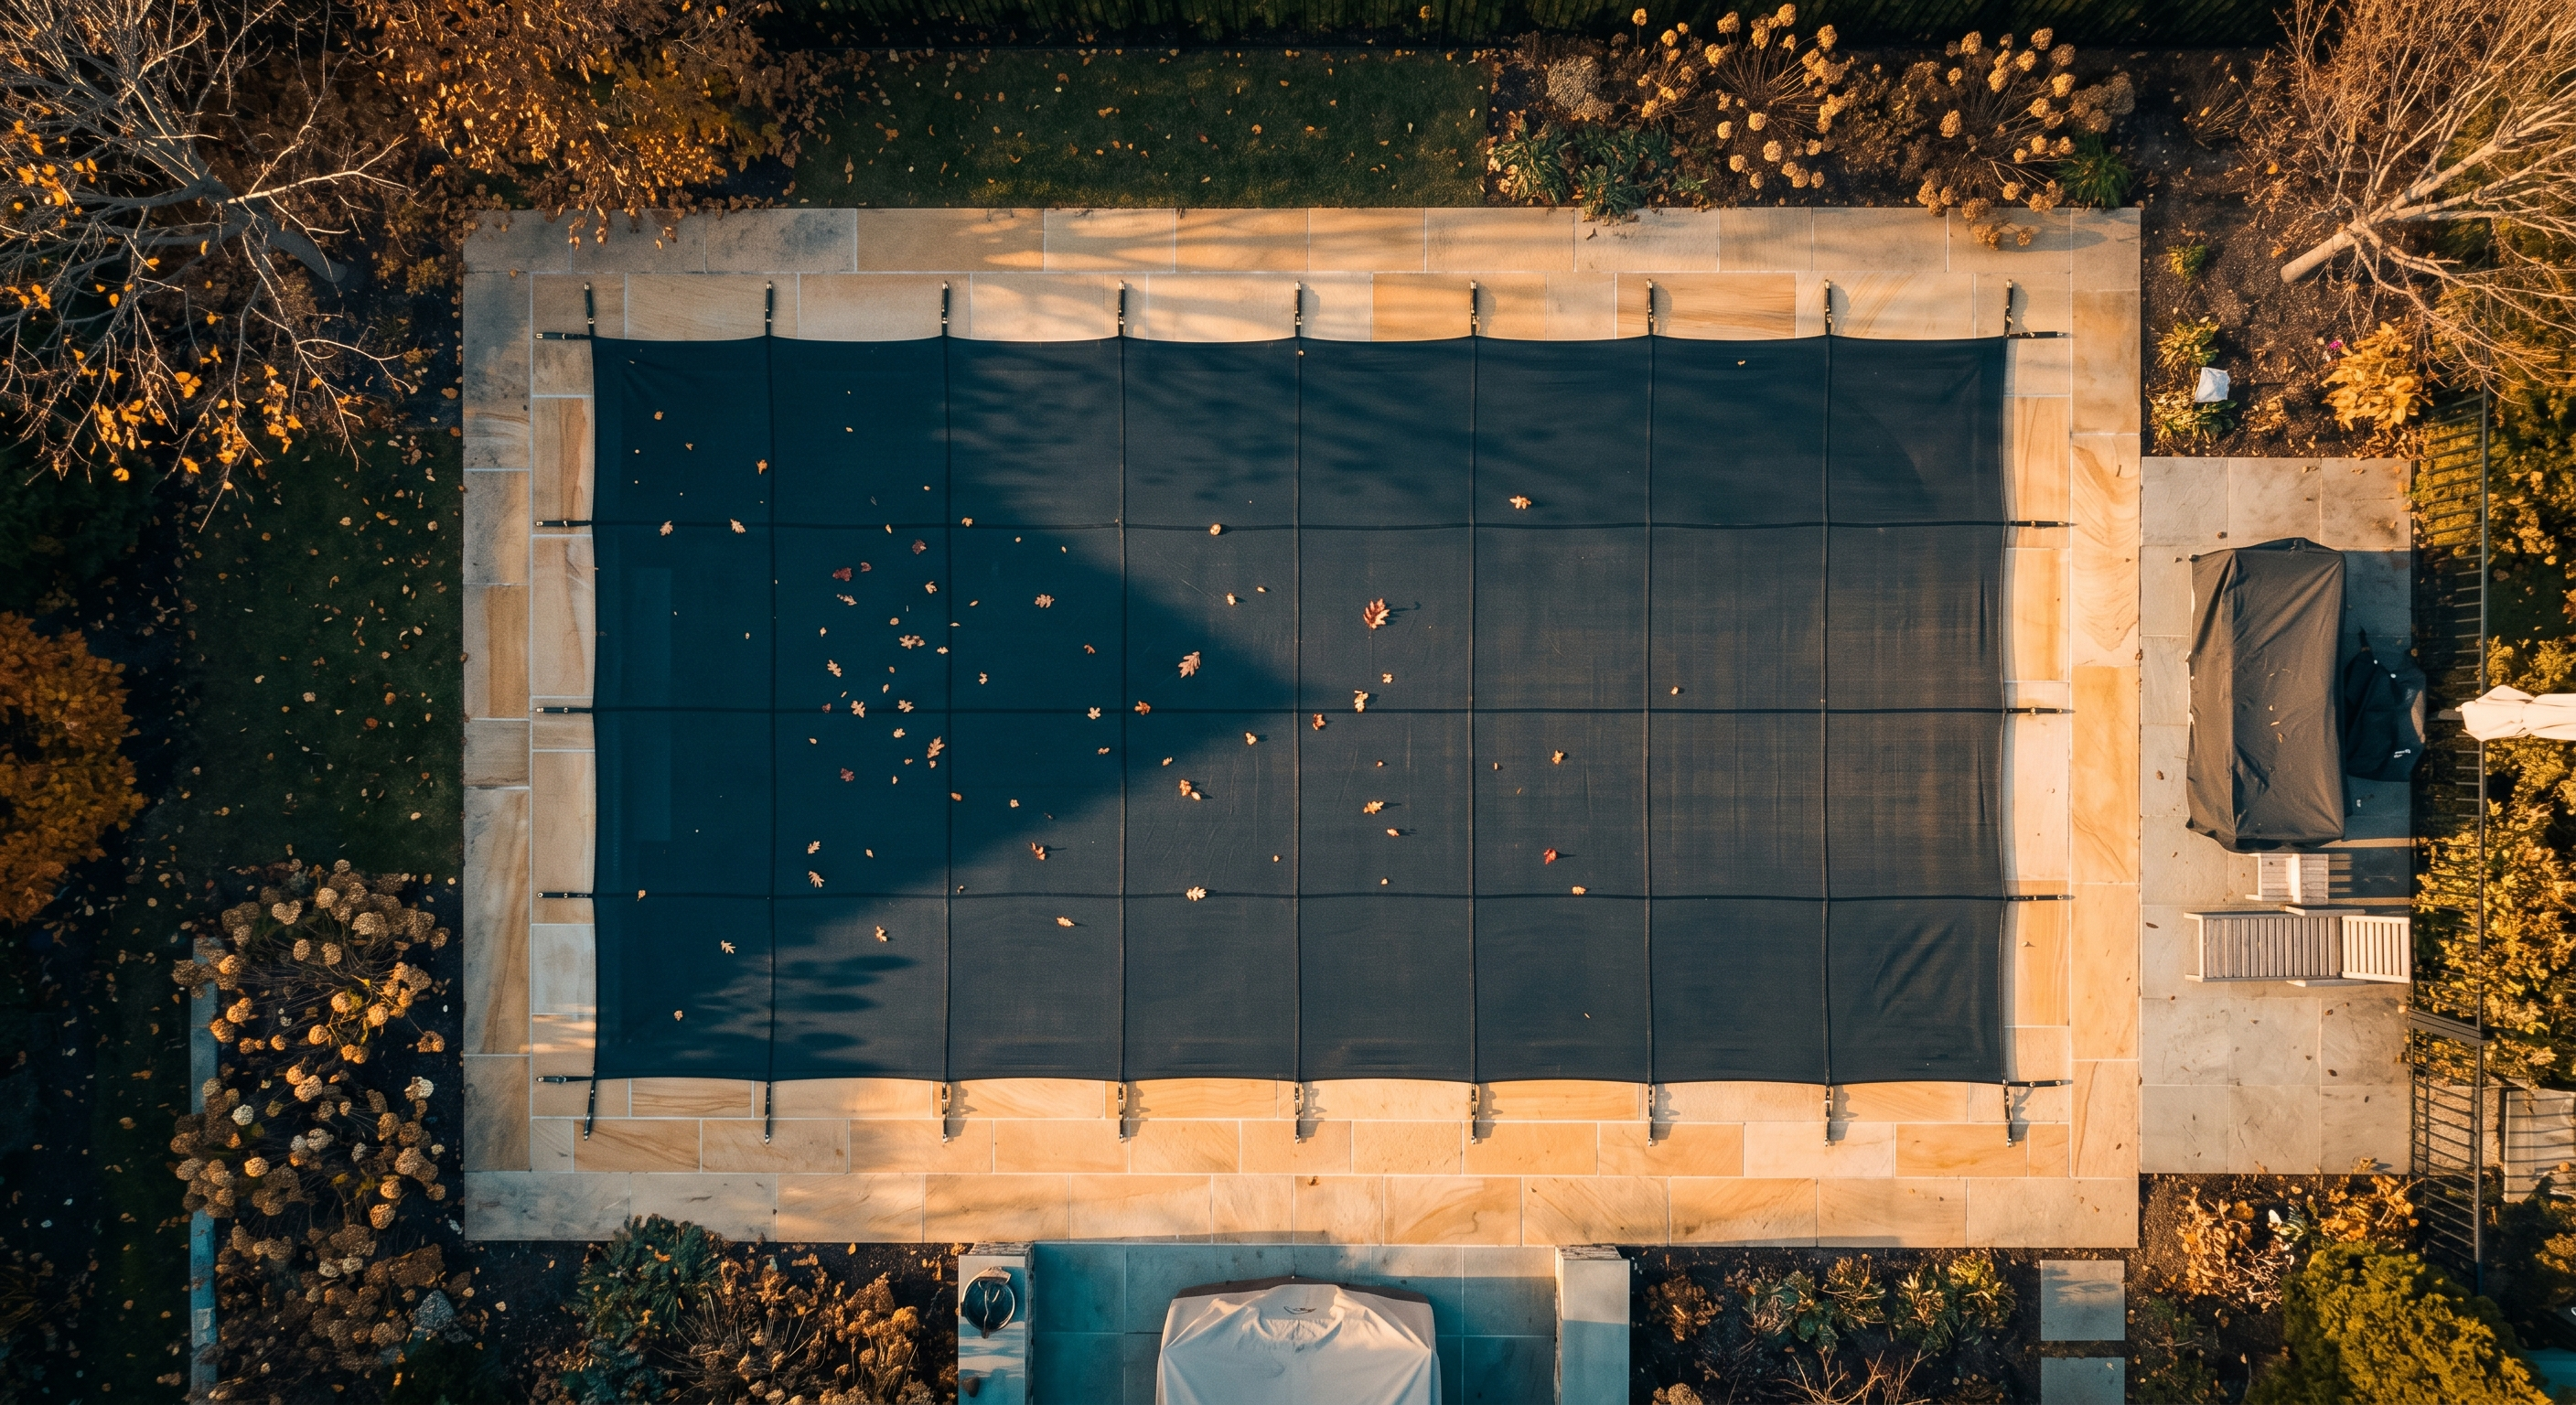
Mesh safety covers are anchored to the deck with spring-loaded straps and brass anchors. They are the safest option (they support the weight of a person or pet), and they allow water to pass through while blocking debris and most sunlight.
Install according to the manufacturer's layout — each strap connects to a specific anchor. Tension should be firm but not drum-tight. The cover should have slight sag (a few inches) to accommodate rain, snow, and ice load.
Above-ground pool covers
Use a cover designed for your pool size and shape. Secure with a cable and winch that tighten around the pool wall, plus cover clips to prevent wind from getting underneath.
Add an air pillow under the cover in the center of the pool. The pillow absorbs ice expansion and prevents the cover from sinking into the center, which makes it harder to remove in spring.
Climate-Specific Notes
Hard freeze climates (Northeast, Midwest, Mountain states)
Full winterization is mandatory. Blow out all lines, drain all equipment, use antifreeze. A single hard freeze can cause thousands of dollars in damage.
Consider a mesh safety cover for these climates. They handle snow loads well, do not require a cover pump, and are the safest option for families with children or pets.
Mild freeze climates (Mid-Atlantic, Pacific Northwest, upper South)
You may experience occasional freezes but not sustained sub-zero temperatures. Still blow out lines and drain equipment — even a few nights below 32°F can crack a pump housing that has water in it.
A number of pool owners in these climates keep the pump running during cold snaps instead of winterizing. Moving water resists freezing. If you choose this approach, use a freeze guard — an automated sensor that turns on the pump when air temperature drops below 35–38°F.
No-freeze climates (Florida, Southern California, Arizona, Texas Gulf Coast)
Full winterization is usually unnecessary. Instead, transition to winter mode:
- Reduce pump run time to 4–6 hours per day
- Lower SWG output to match reduced chlorine demand
- Continue testing chemistry weekly — algae risk is lower but not zero
- Clean the filter and inspect equipment during the off-season while demand is low
Common Closing Mistakes
Closing too early
If you close when water is still above 65°F, algae grows under the cover. You open to a green pool that requires days of SLAM treatment. Wait for consistent sub-65°F water temperature.
Not blowing out lines thoroughly
A damp pipe that freezes cracks just as badly as a full one. Blow each line until you see consistent, dry air — not just a few seconds of bubbles. Antifreeze is your insurance, not a replacement for proper blowing.
Adding excessive chemicals
Some pool owners dump massive amounts of shock and algaecide before closing, thinking "more is better." Extremely high chlorine levels (50+ ppm) can bleach vinyl liners and damage cover materials. Shock to the appropriate level for your CYA, add polyquat algaecide if desired, and leave it at that.
Forgetting to remove the salt cell
Salt cells are the most expensive single component on most pool equipment pads ($300–$800 to replace). They are also fragile. A cell full of water that freezes can crack the housing. Remove, clean, and store indoors every winter.
Using the wrong antifreeze
Automotive antifreeze (ethylene glycol) is sweet-tasting and highly toxic to animals. Pool antifreeze (propylene glycol) is non-toxic. They are not interchangeable. Check the label.
Closing Day Summary
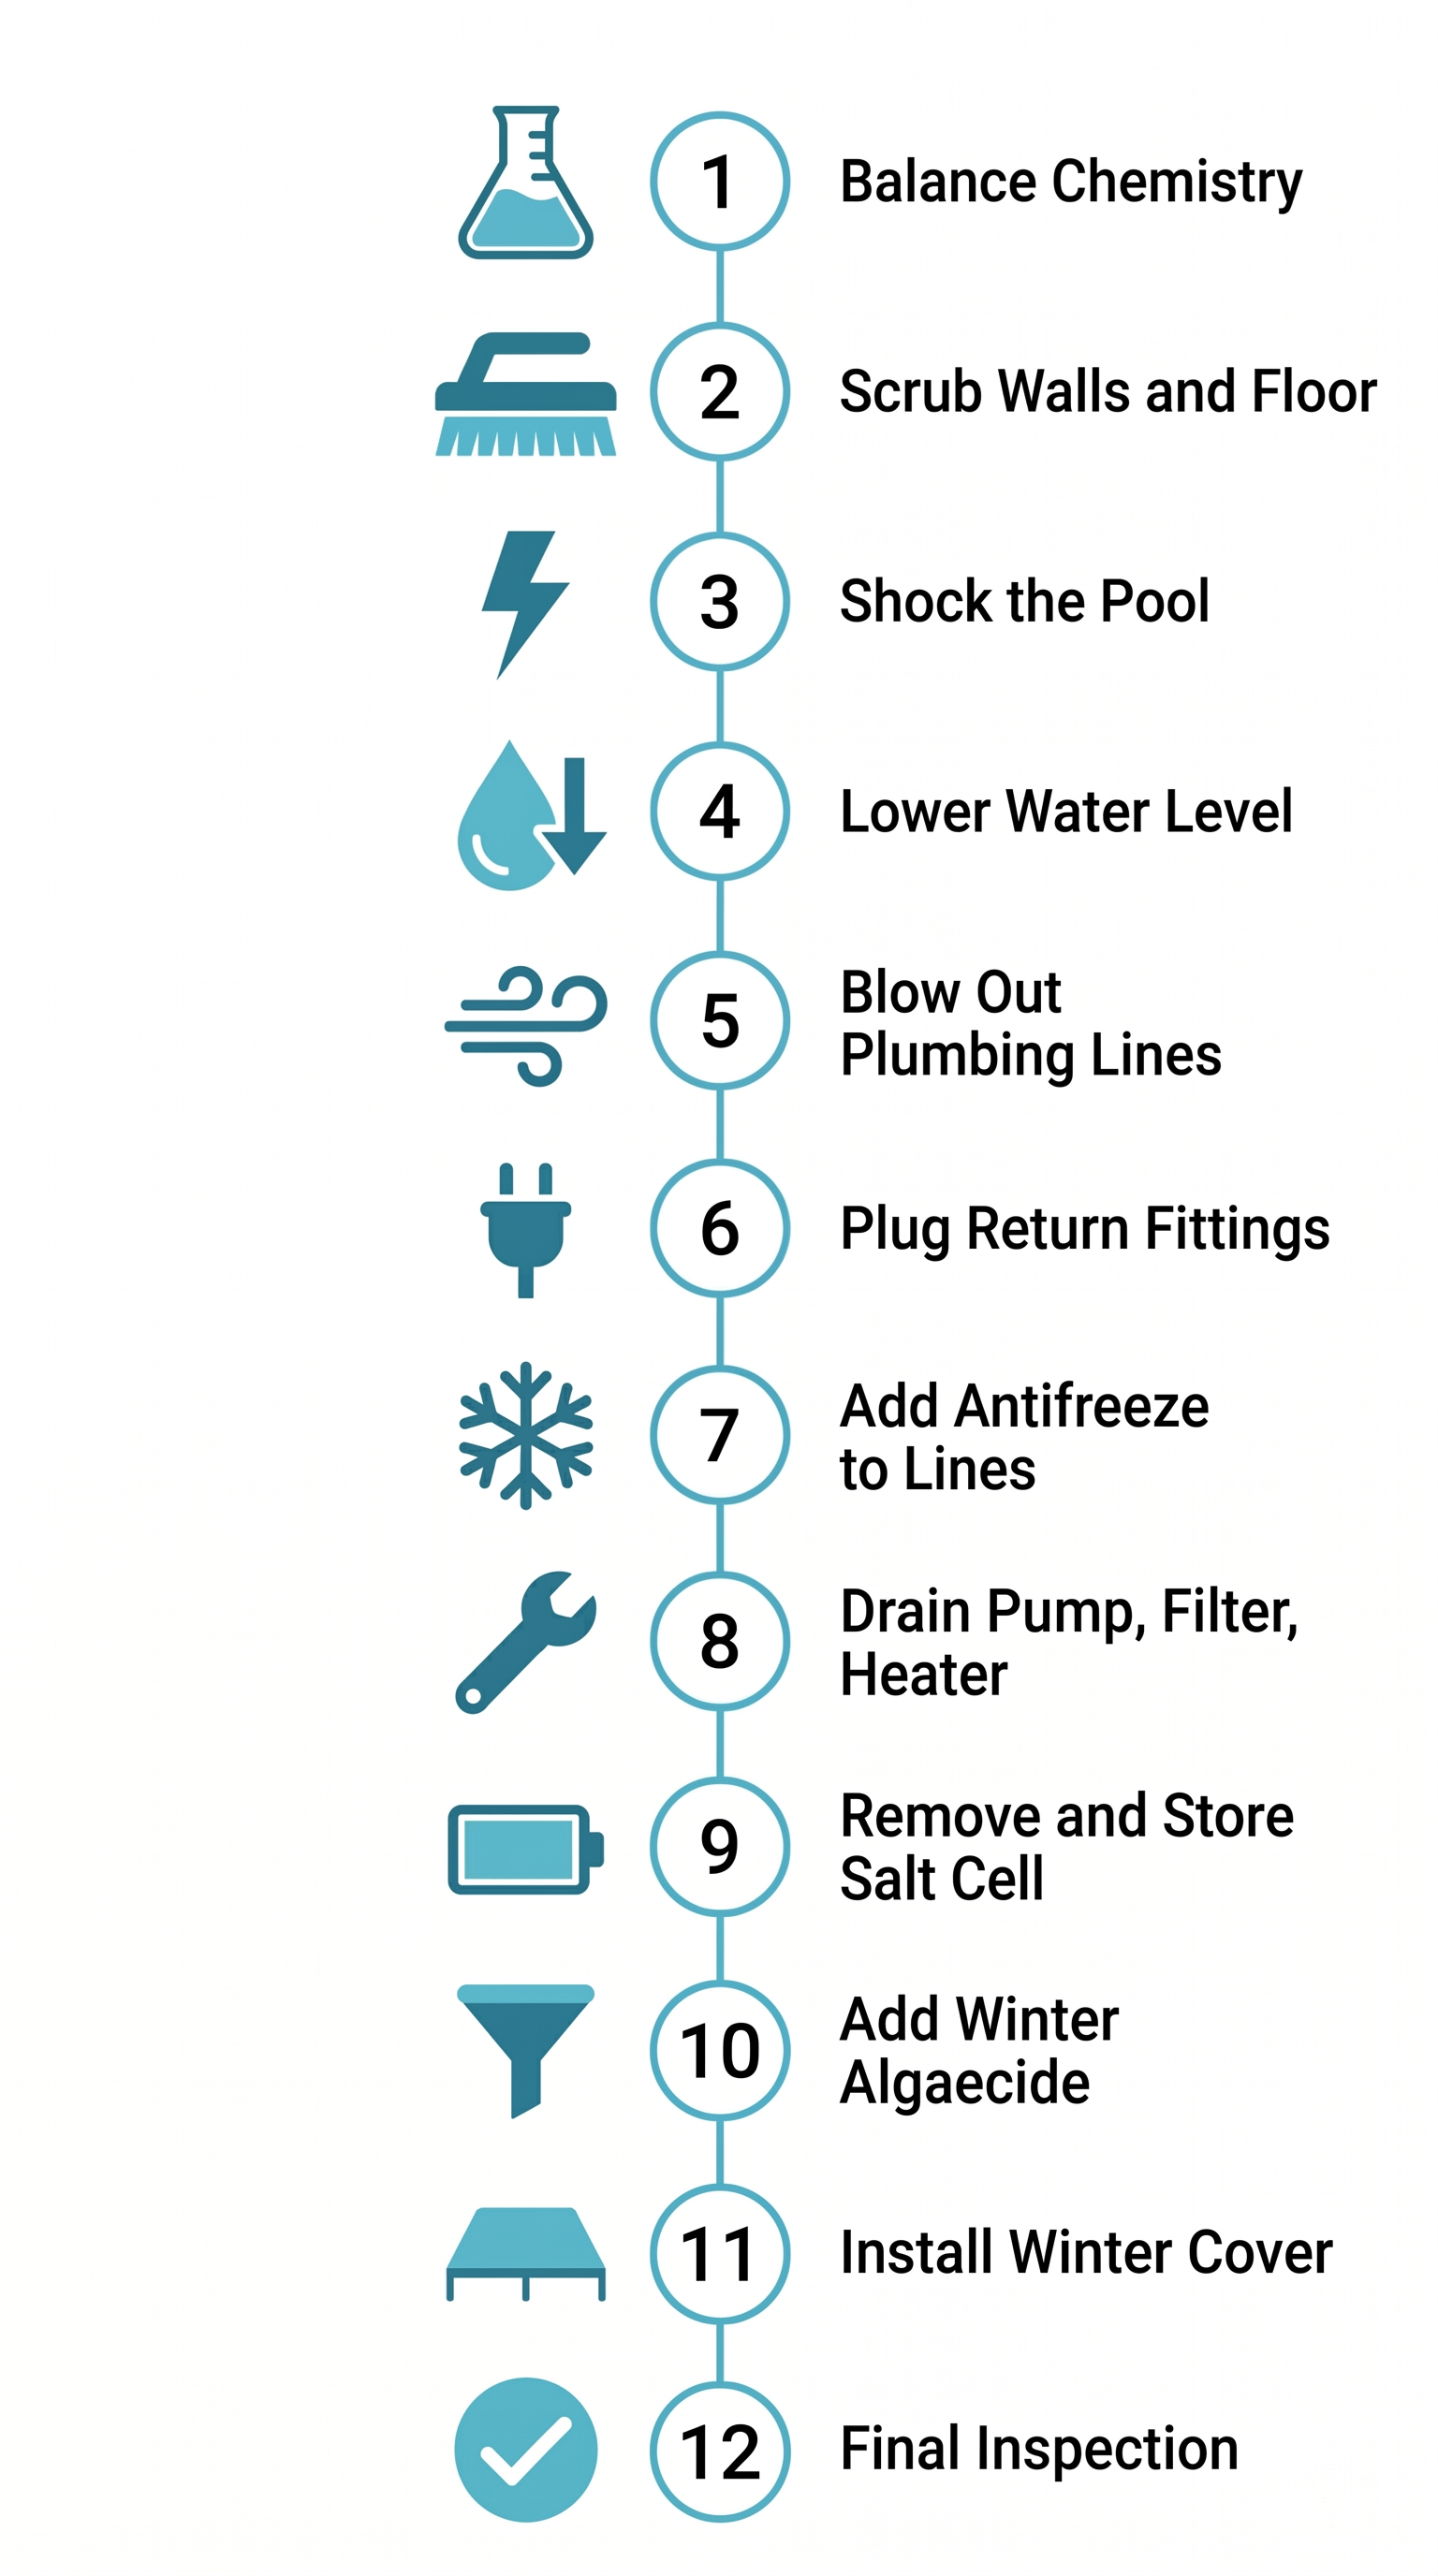
Here is the condensed checklist:
- Balance chemistry (pH, TA, CH) one week before closing
- Clean the pool thoroughly — skim, vacuum, brush
- Shock to CYA-appropriate shock level
- Run the pump 24 hours after shocking
- Lower water level (solid cover) or leave at normal (mesh cover)
- Blow out all plumbing lines
- Plug returns and skimmers with winterizing plugs
- Add pool-grade antifreeze to each line
- Drain pump, filter, heater, and salt cell
- Remove and store salt cell indoors
- Install winter cover
- Set up cover pump (solid covers) or verify anchors (mesh covers)
A proper closing takes about half a day. The payoff is an easy opening in spring — clear water, intact equipment, and no emergency repair bills.
Frequently Asked Questions
Vlad Kuzin
Founder of Poolably. Building the most practical pool chemistry calculator on iOS.