Pool Opening Checklist: Complete Spring Startup Guide
Opening your pool for the season is one of those tasks that feels more complicated than it is. If you winterized properly, most of the work is physical — removing the cover, reconnecting equipment, and filling water. The chemistry part is straightforward if you follow the right sequence.
This guide walks through every step of pool opening, from the first day you pull the cover off to the day the water is crystal clear and swim-ready. It covers both cold-climate pools that were fully winterized and warm-climate pools that ran at reduced capacity over winter.
Before You Start: Gather Supplies
Have these ready before you begin:
Equipment:
- Submersible pump or siphon (for cover water removal)
- Garden hose
- Pool brush, skimmer net, leaf rake
- Teflon tape and spare o-rings
- Lubricant for o-rings (silicone-based, not petroleum)
Chemicals:
- Liquid chlorine (sodium hypochlorite) or cal-hypo for shocking
- Muriatic acid (for pH and TA adjustment)
- Sodium bicarbonate (baking soda, for TA adjustment)
- CYA (stabilizer) — if starting fresh or after a partial drain
- Test kit (FAS-DPD drop kit recommended; test strips as backup)
Optional but helpful:
- Calcium chloride (if your source water is soft)
- Algaecide (polyquat 60 as a preventive)
- Filter cleaner or new filter cartridge
Step 1: Remove the Winter Cover
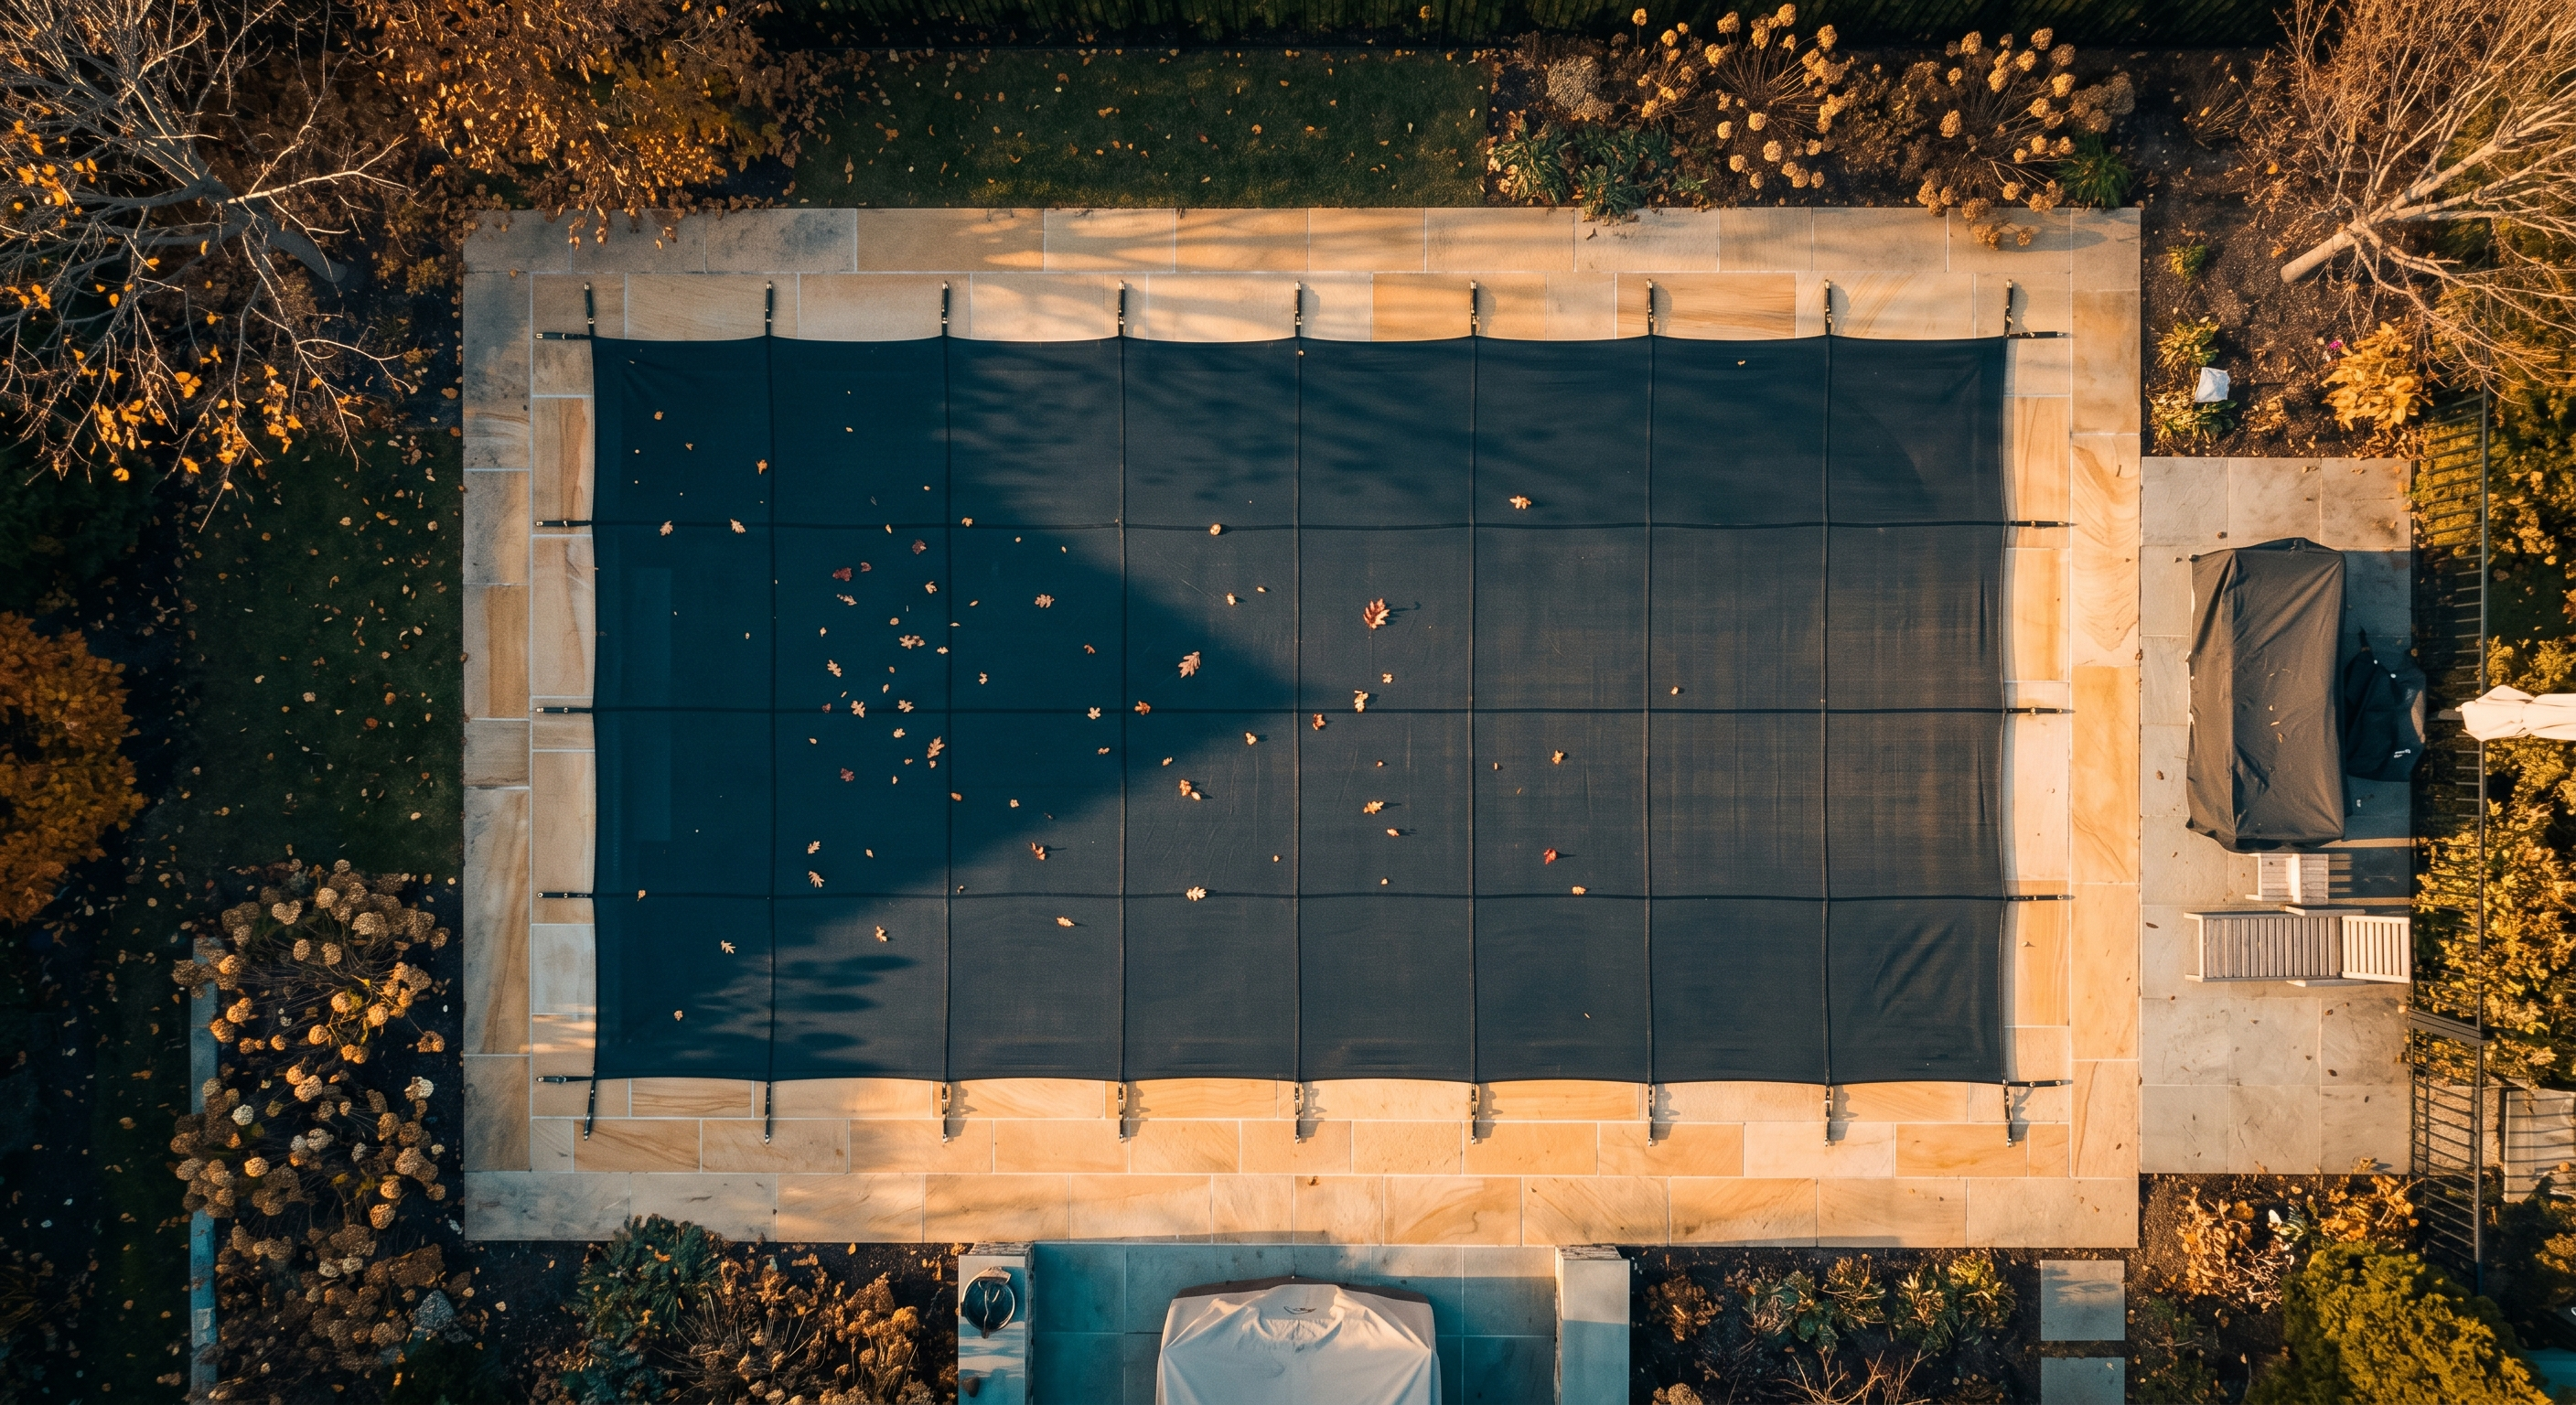
If you have a solid cover, use a submersible pump or siphon to remove standing water from the top. Do this before removing the cover — dragging a cover full of dirty water into the pool defeats the purpose of having a cover.
For mesh safety covers, water drains through automatically, so there is no pump step. Leaves and debris will have settled to the pool floor — that is normal and gets addressed later.
Once the cover is dry (or as dry as practical), remove it carefully. Clean the cover, let it dry completely, fold it, and store it in a dry place. Do not store a damp cover — it will mildew.
Tip: If there is significant leaf debris on the cover, use a leaf blower before pumping the water off. This saves time and keeps the pump from clogging.
Step 2: Inspect the Pool
With the cover off, take a full visual inventory:
- Water level: Should be at mid-skimmer height. If low, fill with a garden hose before proceeding.
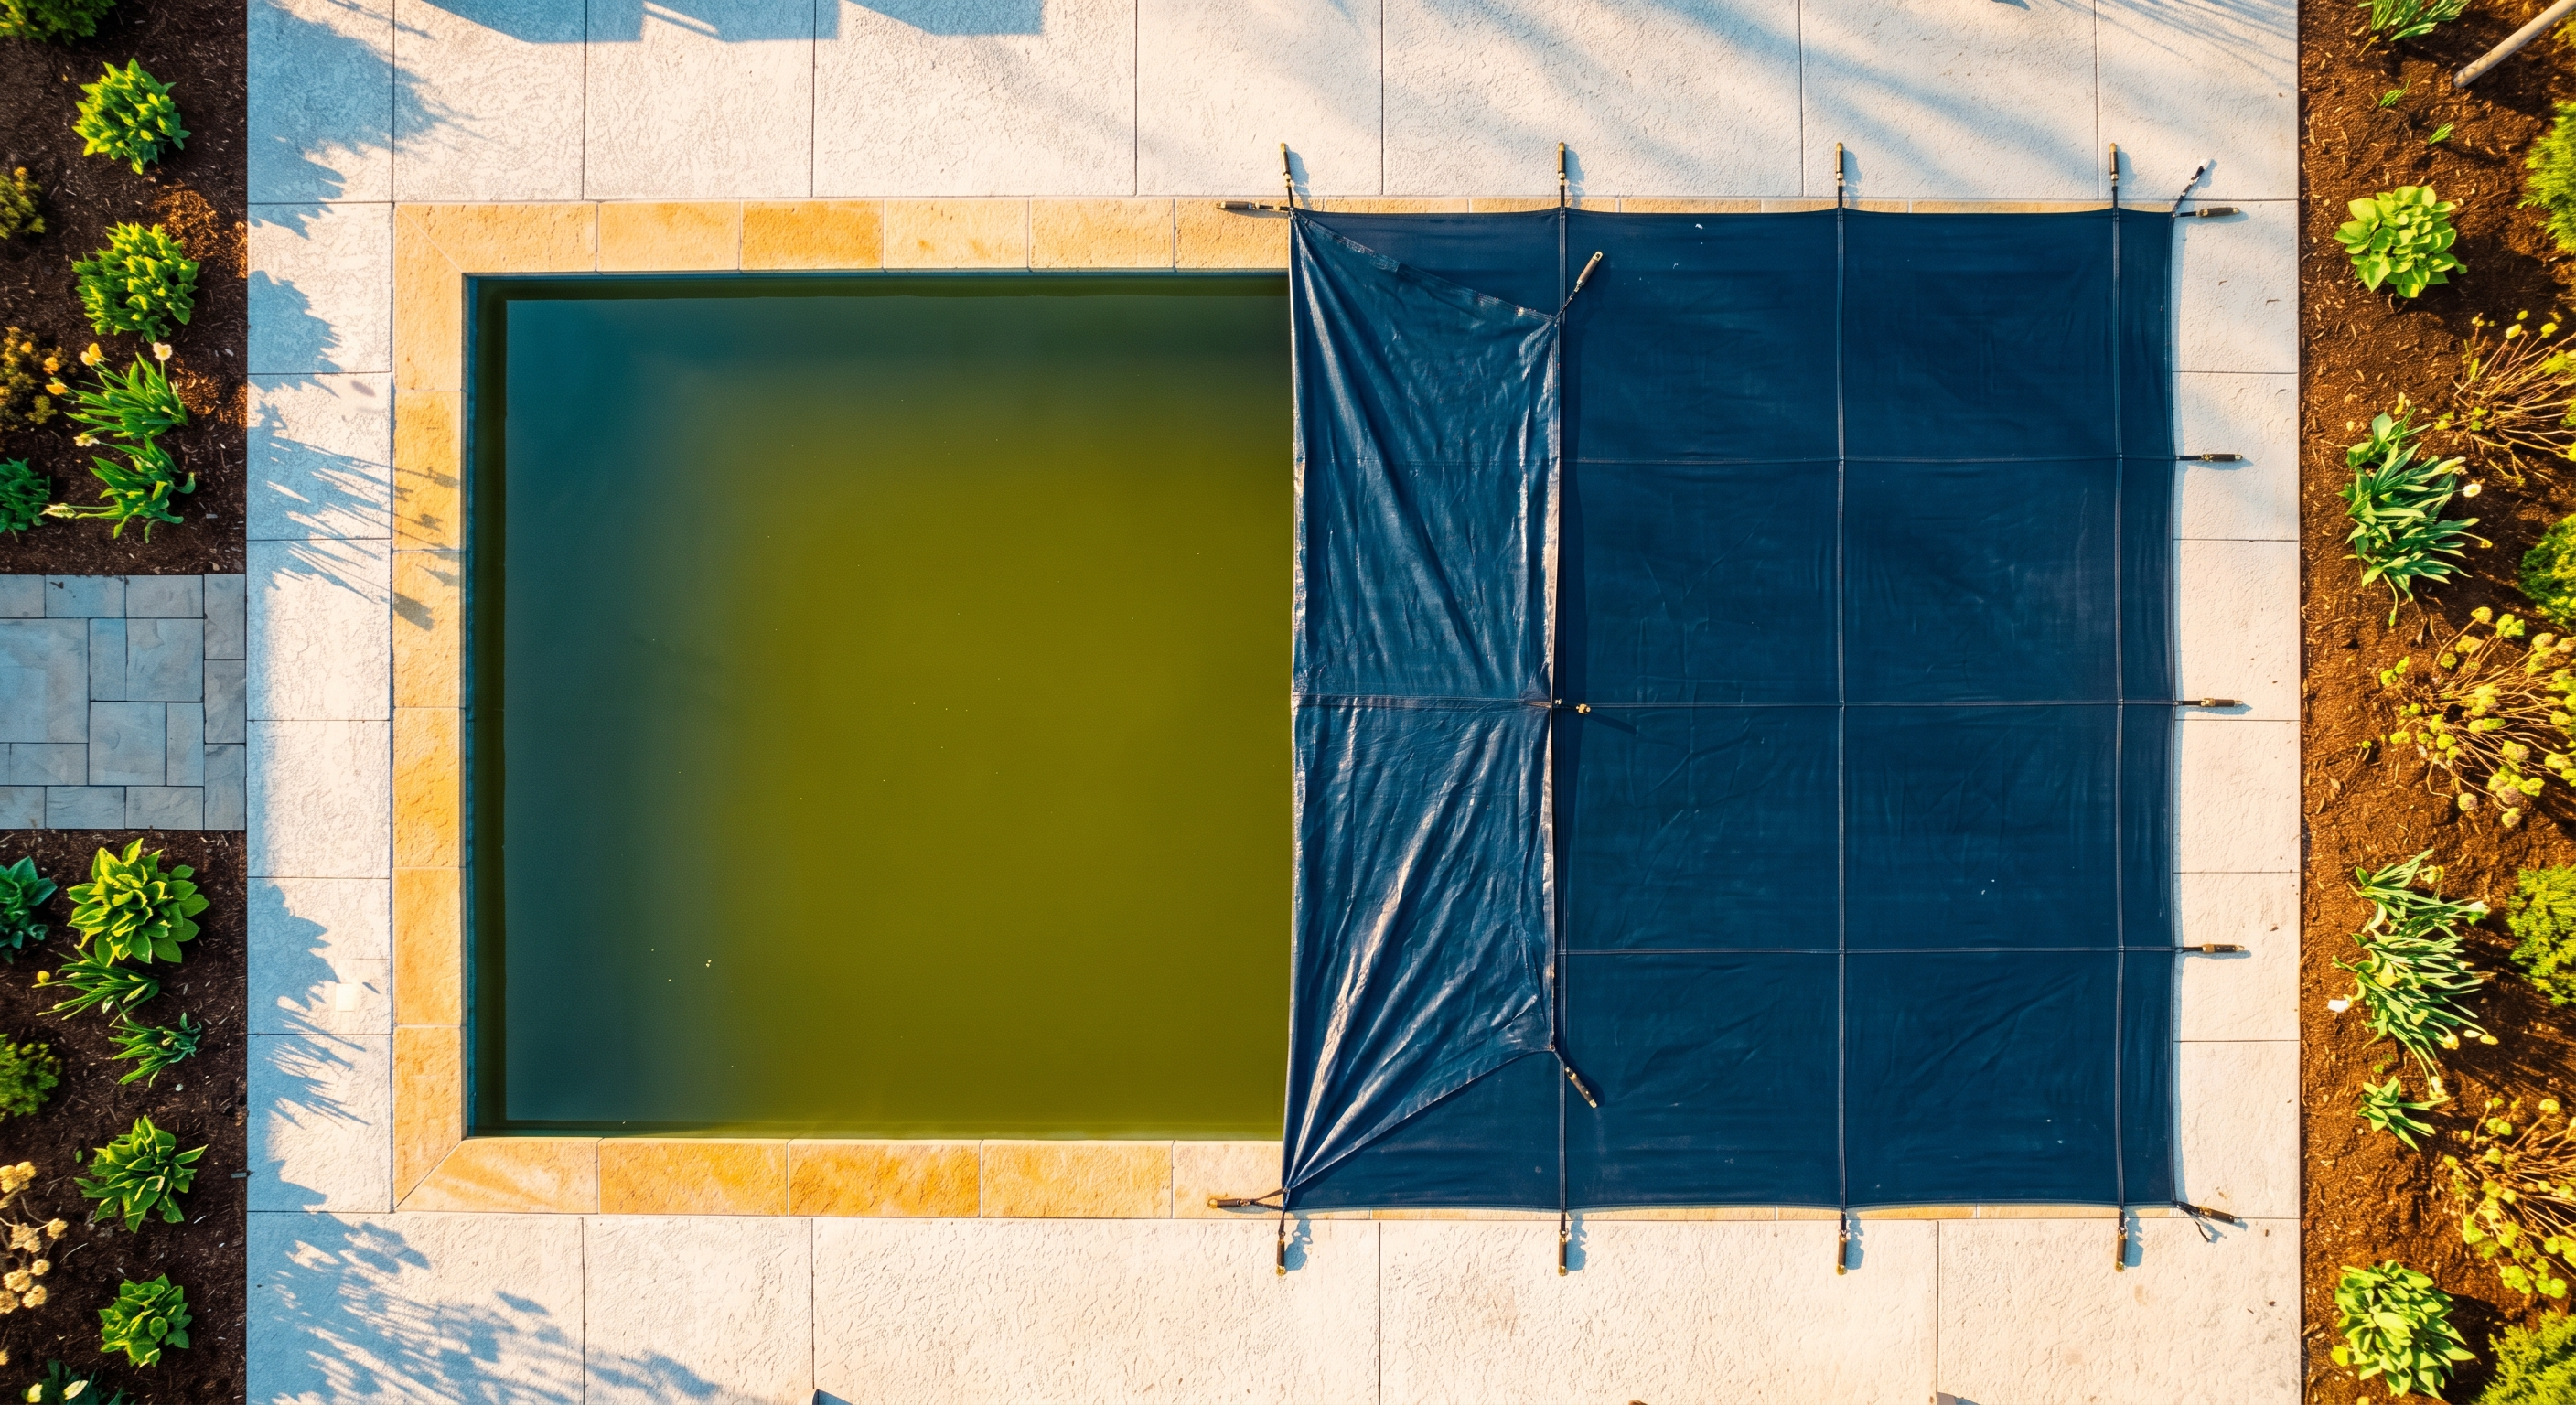
- Water color: Clear water with slight haze is ideal. Green means algae grew over winter. Brown or black water means heavy organic contamination.
- Debris: Leaves, twigs, insects on the bottom are normal. Use a leaf rake to remove the bulk before starting the pump — large debris can clog the skimmer and impeller.
- Visible damage: Check the tile line, coping, and visible plaster/vinyl/fiberglass for cracks, chips, or staining. Check the skimmer basket and weir for damage.
Step 3: Reconnect Equipment
If you winterized by removing drain plugs and disconnecting plumbing, now is the time to reverse that process.
Pump and filter
- Reinstall all drain plugs on the pump, filter, heater, and chlorinator. Use Teflon tape on threaded plugs.
- Lubricate pump lid o-ring with silicone lubricant. Inspect for cracks — replace if it is flat, cracked, or brittle.
- If you have a DE filter, do not add DE yet — wait until after you have primed and started the system.
- If you have a cartridge filter, inspect the cartridge. Replace if it is more than 1–2 seasons old or visibly degraded.
- Open all suction and return valves. Make sure no valves are closed that should be open.
Heater and salt cell
- Reinstall drain plugs on the heater.
- For salt chlorine generators, reinstall the salt cell. Inspect for scale buildup — if the cell has white calcium deposits, soak in a 4:1 water-to-muriatic-acid solution for 5–10 minutes before installing.
- Do not turn on the heater or SWG until the pump is running and water flow is confirmed.
Plumbing
- Remove winterizing plugs from return jets and skimmer.
- If you used pool antifreeze in the lines, it will flush out when you start the pump. This is non-toxic and dissipates — no need to drain.
- Check for visible leaks at all connections. Tighten as needed.
Step 4: Fill the Pool
Fill to the middle of the skimmer opening with a garden hose. This can take 4–12 hours depending on pool size and water pressure — a typical 15,000-gallon pool takes 8–12 hours to fill from a standard hose.
Do not start the pump while filling. Running the pump without adequate water level causes it to run dry, which damages the mechanical seal — a $50–$150 repair.
If you are filling a significant amount (more than a few inches), note that your source water's chemistry matters. City water frequently has high chloramine levels and can have elevated calcium or alkalinity. Well water may be high in metals (iron, copper, manganese) that can stain surfaces when chlorine is added. If you know your source water has metals, consider adding a metal sequestrant before shocking.
Step 5: Prime and Start the Pump
With the water at the correct level:
- Open the pump lid and fill the pump basket housing with water from a garden hose. This primes the pump and prevents dry running.
- Close the pump lid — make sure the o-ring is seated correctly.
- Open the air relief valve on the filter (the small valve on top of the filter tank).
- Turn on the pump.
- Watch for water flow through the pump basket. You should see the basket fill and air bubbles clear within 30–60 seconds.
- Once water flows steadily from the air relief valve, close it.
- Check the pressure gauge — note the "clean start" pressure. This is your baseline for the season. When pressure rises 8–10 psi above this reading, it is time to clean or backwash the filter.
If the pump does not prime within 2–3 minutes, turn it off. Check for air leaks on the suction side — the most common spots are the pump lid o-ring, the drain plugs, and the unions between the pump and plumbing.
For DE filters: Add the correct amount of DE powder through the skimmer now, with the pump running. Check your filter manual for the exact amount — typically 1 pound of DE per 10 square feet of filter area.
Step 6: Remove Debris
With the pump running:
- Use a leaf rake to remove large debris from the pool floor and surface.
- Run the skimmer to collect floating debris.
- Vacuum the pool. If there is heavy debris, vacuum to waste (bypassing the filter) to avoid clogging it. Switch to "filter" once the bulk is removed.
- Brush the walls, steps, and floor. Pay attention to corners, behind ladders, and the waterline. Brushing dislodges algae spores and biofilm that may have formed over winter.
Step 7: Test the Water
Now for the chemistry. Test your water for the following parameters:
- Free Chlorine (FC): Likely 0 after winter. This is expected.
- pH: Typically drifts during winter. Could be anywhere from 7.0 to 8.5+. You will need to balance your pH before shocking.
- Total Alkalinity (TA): Usually stable over winter. Test to confirm.
- Cyanuric Acid (CYA): If you did not drain over winter, CYA should be close to your fall closing level. If you drained and refilled significantly, it may be lower.
- Calcium Hardness (CH): Test to establish your baseline for the season.
Write down all readings. If you use Poolably, log a water test and the app will generate a treatment plan with the exact chemicals, amounts, and order.
Step 8: Balance Chemistry and Shock
The sequence matters. Follow this order:
1. Adjust pH first (if extreme)
If pH is above 8.0 or below 7.0, adjust it toward the 7.2–7.6 range before shocking. Chlorine is significantly less effective at high pH, so shocking at pH 8.5 wastes chlorine.
Add muriatic acid to lower pH. For a 15,000-gallon pool, roughly 1 cup (8 oz) of muriatic acid lowers pH by about 0.2 points. Add to the deep end with the pump running, wait 30 minutes, retest.
2. Shock your pool
Raise FC to shock level based on your CYA reading (see the CYA-FC table). If CYA is 0 (fresh fill), target FC of 10 ppm. If CYA is 40, target FC of 16 ppm.
Liquid chlorine dosing: Each gallon of 10% sodium hypochlorite raises FC by approximately 7.5 ppm per 10,000 gallons. For a 15,000-gallon pool with CYA of 40 (target shock FC of 16 ppm), you need about 3 gallons of liquid chlorine from FC of 0.
Add liquid chlorine in the evening — sunlight degrades chlorine rapidly, especially with low CYA. Pour slowly in front of a return jet with the pump running.
3. Run the pump 24/7
After shocking, run the pump continuously until the water is clear and FC holds overnight without dropping more than 1–2 ppm. This usually takes 2–5 days.
4. Adjust TA
Once the shock has done its work and FC has dropped to the normal target range, adjust TA if needed. Add baking soda to raise TA — roughly 1.5 pounds per 10,000 gallons raises TA by about 10 ppm. Add dissolved in a bucket and pour near a return jet.
5. Adjust CH
If CH is below 200 ppm (or below your target for your surface type), add calcium chloride. Roughly 1.25 pounds per 10,000 gallons raises CH by about 10 ppm. Pre-dissolve in a bucket of pool water before adding — calcium chloride generates significant heat when dissolving. Never add it directly to the pool undissolved.
6. Add CYA if needed
If CYA is below 30 ppm (non-saltwater) or below 60 ppm (saltwater), add stabilizer. CYA dissolves slowly — place it in a sock or mesh bag in the skimmer basket, and it will dissolve over 3–7 days. Do not dump dry CYA directly into the pool.
Roughly 13 ounces of dry CYA per 10,000 gallons raises CYA by about 10 ppm.
Regional Notes
Cold-climate pools (freeze states)
If you fully winterized (drained below skimmers, blew out lines, added antifreeze), the opening process follows all steps above. Expect more debris and potentially green water if the cover allowed light through.
Open before water reaches 65°F. Algae growth accelerates rapidly above this temperature, and catching it early is far easier than fighting a full bloom later.
Warm-climate pools (Sunbelt)
Most Sunbelt pool owners run their pools year-round at reduced capacity. If your pump ran all winter at reduced hours, your "opening" is really a transition back to summer operation:
- Increase pump run time to full summer hours (8–12 hours per day depending on pool size and pump type).
- Test and rebalance chemistry — TA and CH may have drifted.
- Clean the filter (backwash, cartridge clean, or DE recharge).
- Inspect the salt cell if you have an SWG — winter scale buildup is common.
- Shock if FC has been running low over winter.
Mesh cover vs. solid cover
Mesh safety covers allow rainwater and snowmelt to pass through, so the water level is typically correct at opening. However, fine debris and dissolved tannins (from leaves) will have entered the water. Expect brown or tea-colored water — this clears with shocking and filtration.
Solid covers keep debris out but require pumping off accumulated water. The pool water underneath is usually cleaner at opening, but algae can grow if any light leaks through.
Troubleshooting Common Opening Problems
Water is green
Green water means algae grew over winter. Follow the SLAM (Shock Level And Maintain) process: raise FC to shock level based on CYA, brush the pool thoroughly, run the filter 24/7, and maintain shock level FC until the water clears and FC holds overnight. See our green pool fix guide for a detailed walkthrough.
Water is brown or rusty
Brown water? Do not add chlorine yet. Brown water usually indicates metals — iron from well water or corroded equipment. Add a metal sequestrant first, run the pump for 24 hours, then shock. Shocking without sequestrant oxidizes metals, causing permanent staining on plaster and vinyl.
Pump will not prime
Check for air leaks: pump lid o-ring, suction-side unions, drain plugs, and the skimmer connection. Even a tiny air leak on the suction side prevents priming. Also check that all suction valves are open and the water level is at mid-skimmer.
Filter pressure is high immediately
If pressure is high right after starting, the filter media is likely dirty from last season. Clean the cartridge, backwash the sand or DE, or replace the media if it is old.
Opening Day Summary
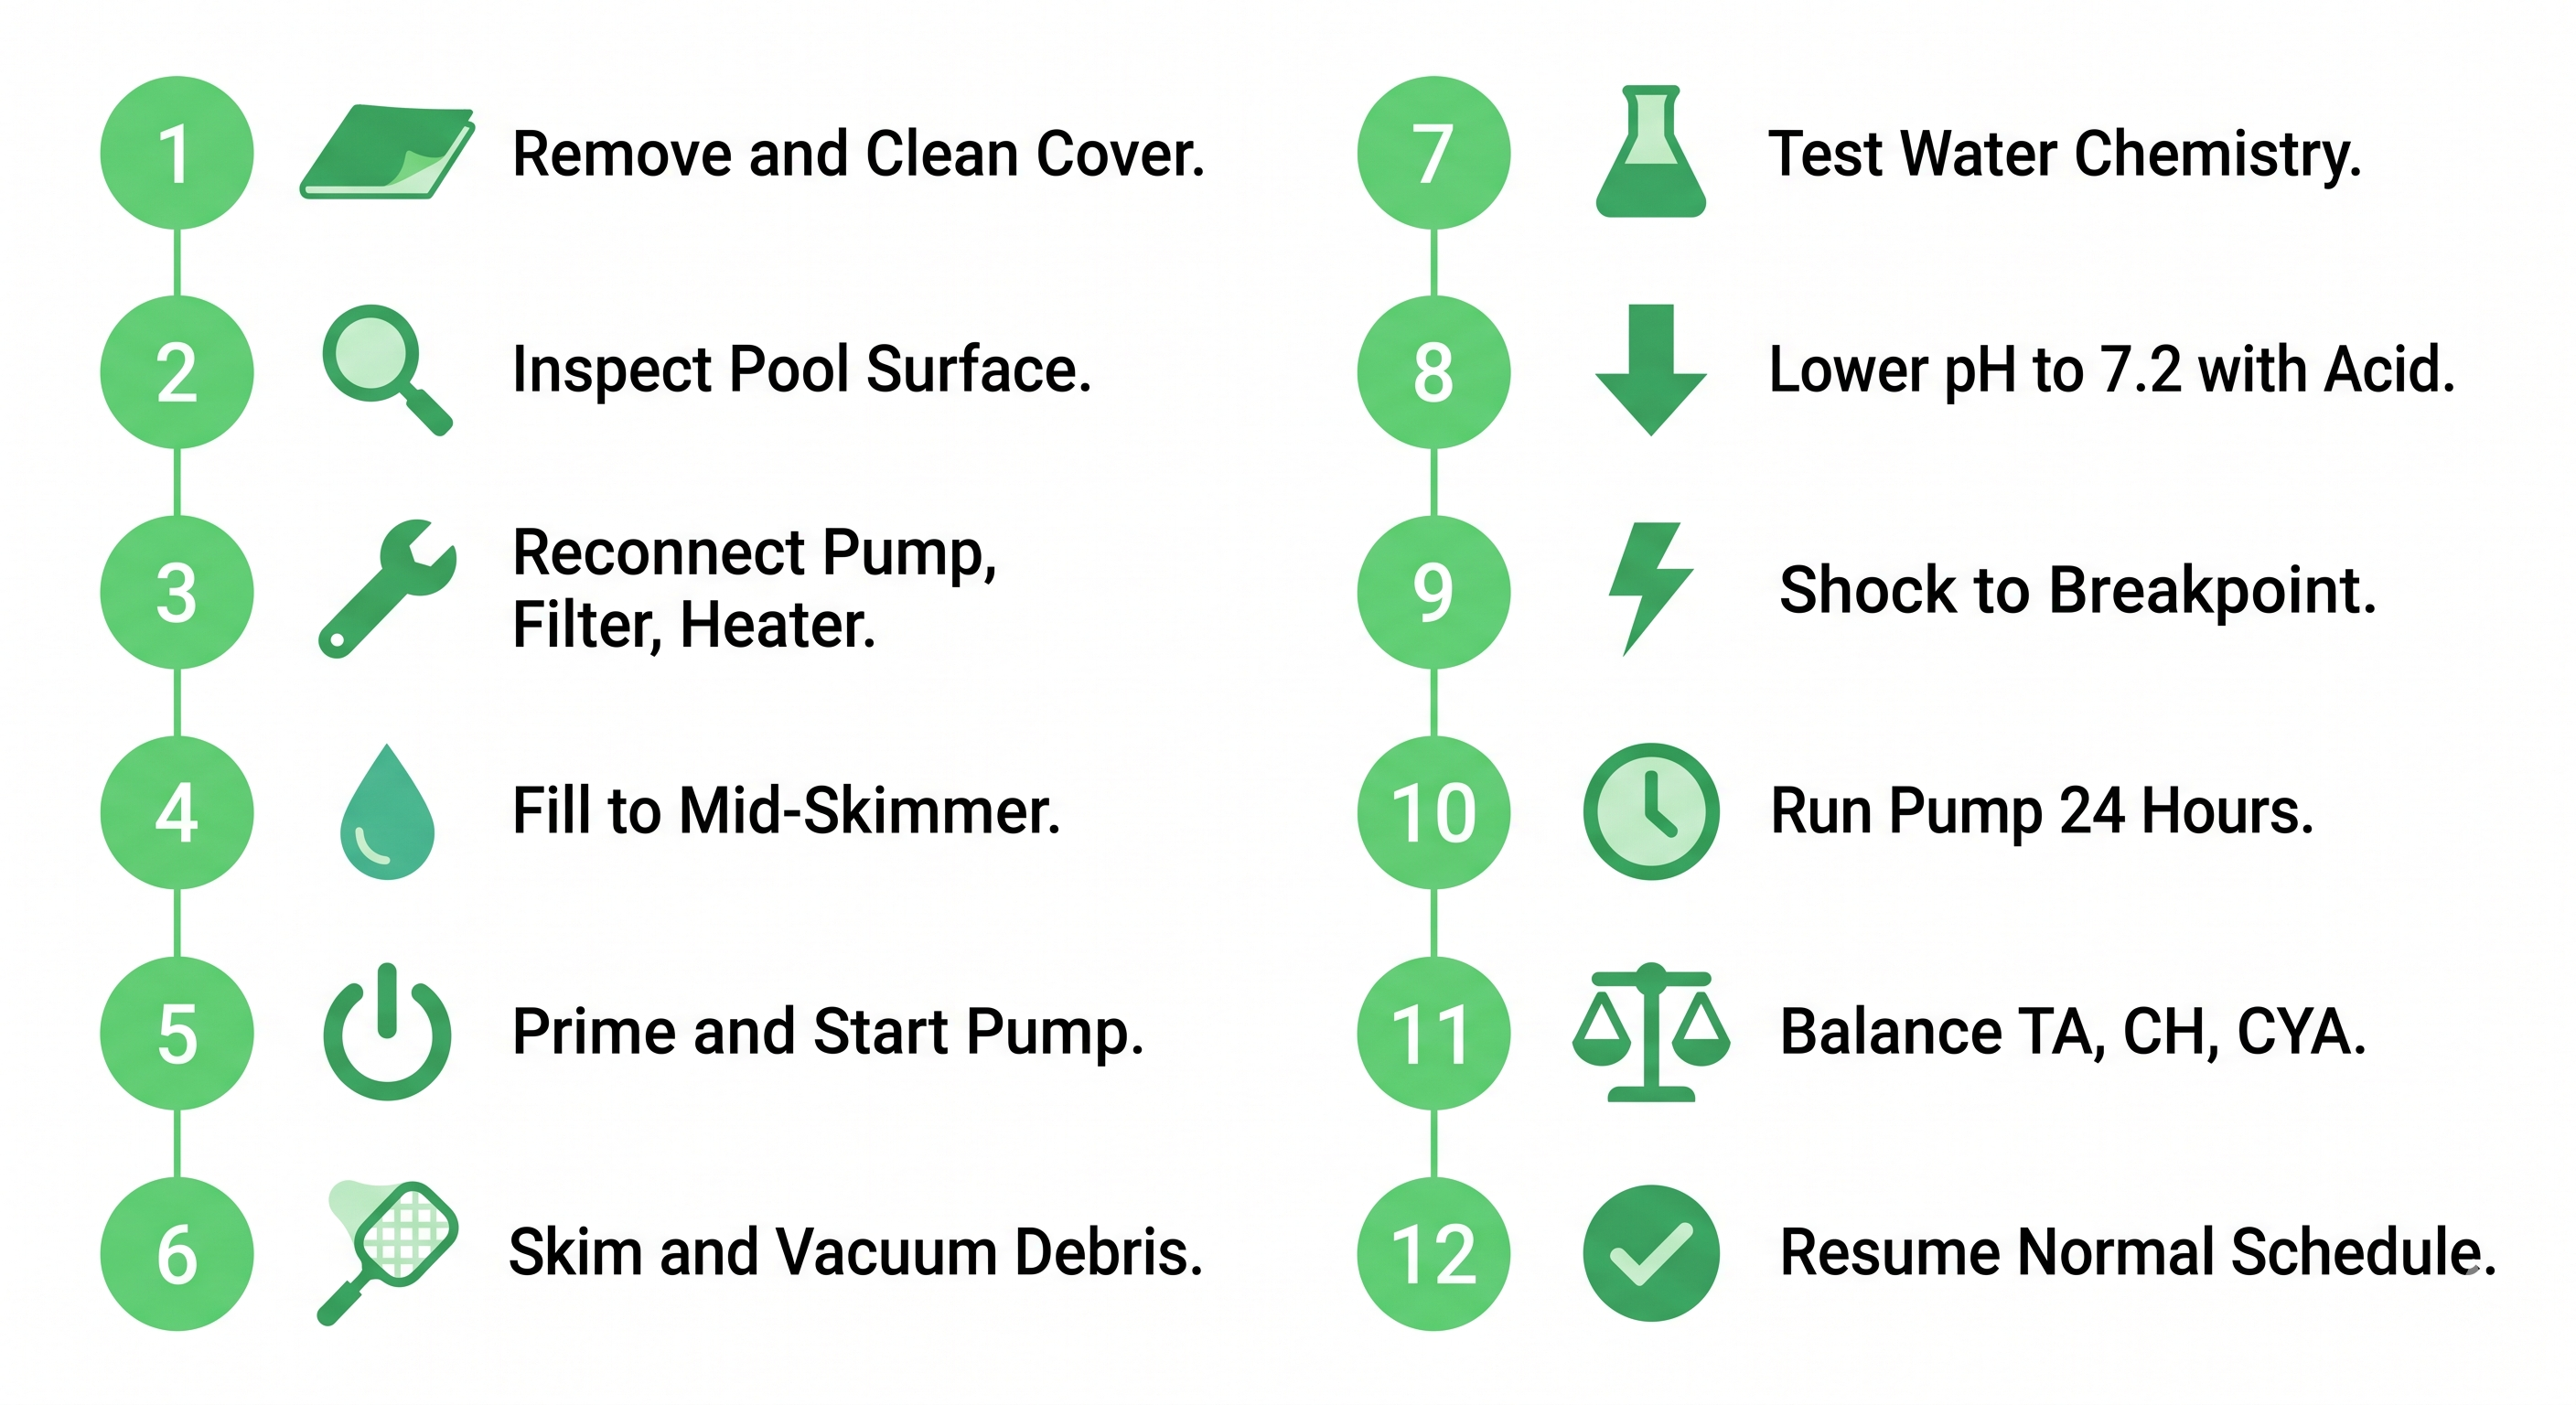
Here is the condensed checklist:
- Remove and store the winter cover
- Inspect pool and equipment visually
- Reinstall drain plugs, reconnect equipment
- Fill water to mid-skimmer
- Prime and start the pump
- Remove debris, vacuum, brush
- Test water (FC, pH, TA, CYA, CH)
- Lower pH if above 8.0
- Shock to CYA-appropriate level
- Run pump 24/7 until water clears
- Balance TA, CH, CYA once FC normalizes
- Resume normal maintenance schedule
The whole process typically takes a weekend. By Monday, you should have clear water and balanced chemistry — ready for the first swim of the season.
Frequently Asked Questions
Vlad Kuzin
Founder of Poolably. Building the most practical pool chemistry calculator on iOS.